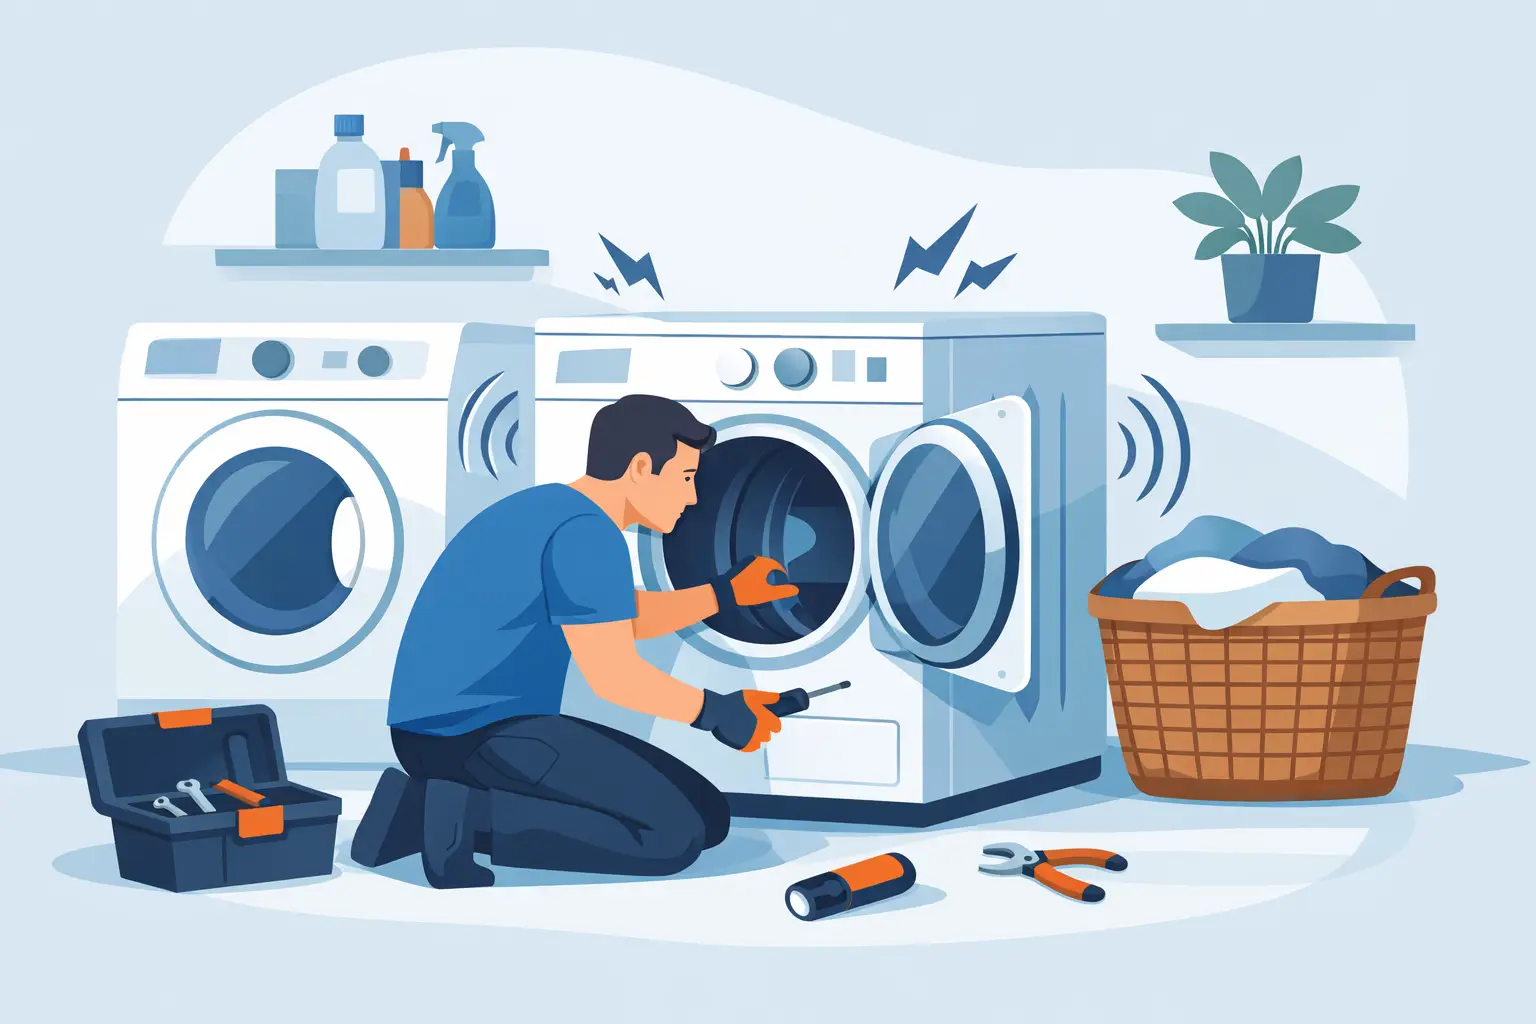
A dryer that suddenly squeals through a laundry cycle can turn a routine chore into a concern. Learning how to fix a noisy dryer starts with identifying the sound, stopping use when needed, and avoiding repairs that could create a fire, electrical, or gas safety risk. Some noises have a simple cause, such as a zipper or an uneven load. Others point to worn parts that need professional attention before the dryer stops heating or turning altogether.
Start With a Safe Dryer Check
Before inspecting anything, turn the dryer off and unplug it. If you have a gas dryer, also close the gas supply valve before moving the appliance or removing any panels. Never use a gas dryer if you smell gas, hear an unusual hissing sound near the gas connection, or suspect a damaged gas line. Leave the area and arrange qualified service right away.
Next, empty the drum and check the lint screen. A loose coin, bra wire, button, zipper pull, or small item caught near the drum can make a rattling or scraping noise. Look inside the drum, around the door opening, and beneath the lint filter. Do not reach into areas you cannot clearly see or safely access.
Run one short cycle with the drum empty after removing any obvious items. If the sound disappears, the issue may have been an object in the load or a heavy, unbalanced batch of laundry. If the noise continues with an empty drum, the problem is more likely related to the dryer’s support, belt, motor, blower, or internal drum components.
Match the Dryer Sound to the Likely Cause
The type of noise matters. Paying attention to when it begins and whether it changes as the drum turns helps narrow down the repair.
Squealing or high-pitched squeaking
A sharp squeal usually points to friction in a moving part. On many dryers, worn drum rollers, a dry idler pulley, or a fraying drive belt can create this sound. The noise may start quietly and become more noticeable over several weeks.
Continuing to operate the dryer can cause a belt to break or a roller to seize. That can leave clothes damp, stop the drum from rotating, or put extra strain on the motor. Replacing these parts often requires removing the cabinet or drum, so this is generally a good time to schedule a dryer repair technician.
Thumping or rhythmic bumping
A repeating thump that matches the drum’s rotation can have a few causes. A bulky item such as shoes, a blanket, or a jacket with hardware may be hitting the drum. Try drying that item with a few soft towels or use a lower-speed setting if your dryer offers one.
If the dryer thumps while empty, a worn or flattened drum roller is a common cause. An overloaded dryer can also wear rollers prematurely. Avoid packing the drum tightly, and make sure the dryer is sitting level on the floor. A dryer that rocks can amplify normal vibration and make it sound like a mechanical failure.
Scraping, grinding, or metal-on-metal noise
Grinding and scraping deserve prompt attention. These sounds may indicate a worn drum glide, damaged roller, loose blower wheel, or an item trapped between the drum and the front or rear seal. You may also notice dark marks on clothing, resistance when turning the drum by hand, or a burning smell.
Do not keep running the dryer in this condition. A failing internal part can damage the drum, motor, or housing, turning a manageable repair into a more expensive one. Unplug the unit and have it inspected.
Rattling or vibrating
Rattling is sometimes the least serious noise, but it should still be checked. First, confirm the dryer is level by pressing gently on opposite corners. Adjust the leveling legs if the appliance rocks. Leave a small amount of clearance around the dryer so it is not vibrating against a wall, shelf, or washer.
A loose exhaust duct can also rattle during operation. Inspect the visible connection behind the dryer for a secure fit, but do not crush, kink, or use plastic or foil-style venting. Restricted or damaged venting can trap heat and lint, increasing drying times and fire risk. If the duct is dirty, inaccessible, or damaged, arrange professional vent service.
Simple Steps That May Reduce Dryer Noise
A few homeowner-friendly checks can solve minor noise without taking apart the appliance. Keep the dryer clean, use balanced loads, and avoid overloading the drum. Clean the lint screen after every load, then periodically wash it with warm water and mild dish soap if fabric softener residue has built up.
Make sure pockets are empty before clothes go into the dryer. Coins, screws, keys, hair clips, and small children’s toys are frequent sources of rattling. Fasten zippers, and turn garments with metal hardware inside out when practical.
Also check that the dryer is stable. The appliance should sit firmly on a solid floor, with all four feet supporting its weight. If a laundry room floor is uneven, a small adjustment to the leveling legs can make a meaningful difference in vibration.
These steps help with external noise and load-related sounds. They will not correct a failing belt, roller, pulley, bearing, motor, or blower wheel. Trying to lubricate internal parts without the correct product and repair procedure can attract lint or damage components, so it is not a reliable fix.
When Not to Attempt a DIY Dryer Repair
Dryers combine heat, moving parts, electricity, and, in gas models, a fuel supply. Removing panels without experience can expose sharp edges, disturb wiring, damage the drum seal, or create an unsafe reassembly. A dryer may still run after an incorrect repair, but it may no longer operate safely or efficiently.
Stop using the dryer and request professional service if you notice a burning odor, smoke, sparks, a hot exterior, a gas odor, or a breaker that trips. The same applies if the drum will not turn, the dryer is making loud grinding noises, or the machine takes multiple cycles to dry normal loads. Slow drying and noise together can signal a venting restriction or a mechanical issue that needs a complete inspection.
For a gas dryer, repairs involving the burner assembly, igniter, gas valve, or gas connection should always be handled by a qualified technician. The goal is not just to stop the noise. It is to restore safe operation, proper airflow, and dependable drying performance.
What a Professional Dryer Repair Visit Can Address
A trained technician can safely inspect the dryer’s belt, rollers, idler pulley, blower wheel, drum glides, motor, and vent connection. They can identify whether one worn part caused the noise or whether related components should be replaced at the same time. For example, replacing only one damaged roller while leaving the remaining worn rollers in place may lead to another service call soon after.
Professional diagnosis also helps prevent guesswork. A squeal may sound like a belt problem, but the underlying issue could be a pulley or roller that is placing extra stress on the belt. The right repair protects the dryer from further damage and helps it run more quietly and efficiently.
Appliance Tech Pros provides safety-focused dryer service for homeowners and businesses that need a dependable solution without the stress of dismantling an appliance themselves. A qualified repair can restore normal operation and give you confidence that the dryer is ready for the next load.
Keep Your Dryer Quieter After the Repair
Once the noise is resolved, regular care can help extend the life of the dryer. Clean the lint filter after each use, avoid overfilling the drum, and make sure the appliance remains level. Have the exhaust system inspected and cleaned as needed, especially if drying times are getting longer or the laundry area feels unusually warm.
A dryer does not need to be silent, but new squealing, grinding, thumping, or rattling should never be ignored. Acting early often means a smaller repair, less disruption to your routine, and greater peace of mind every time the dryer starts.